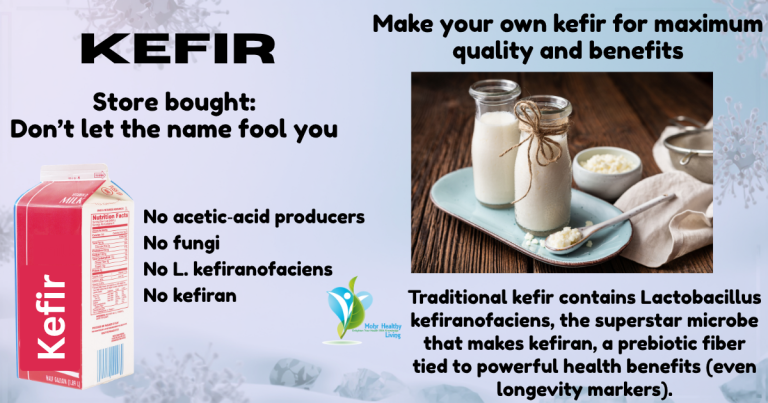
Is Your “Kefir” Actually Kefir?
Real Kefir vs Store-Bought (Plus Non-Dairy Options) Most store-bought kefir


Making nut milk can be a pain. I especially dislike using a nut milk bag. I discovered my own hassle-free way to make nut milk, then ferment it for optimal benefits.
One of the big advantages of making your own fermented nut milk — you get a natural boost of bioavailable B vitamins that store-bought plant milks don’t have. See more about that below.
For the leftover pulp: Mix with a little probiotic powder and ferment just like the milk. I consume it like porridge, or dehydrate for “flour.”
https://www.iherb.com/pr/now-foods-probiotic-10-powder-2-oz-57-g/55590?rcode=ATJ5704
Several strains in this probiotic blend are known to produce B vitamins during fermentation. This specific mix is very good for this. Here’s a breakdown:
Fermentation with this blend should increase levels of B2 (riboflavin), B9 (folate), and to a lesser extent B6 and B12-related compounds. The exact amount depends on fermentation time, temperature, and the inulin/maple syrup you use as food for the bacteria.
The longer you ferment (within reason — up to 48+ hours), the more B vitamins the bacteria can produce, as they use the prebiotic (inulin) to grow and synthesize them.
Inulin is an excellent prebiotic and works very well to feed the bacteria (similar to how Dr. Davis uses it in L. Reuteri yogurt). It may produce a slightly different tang than maple syrup or honey, but it’s cleaner because it doesn’t add extra sugars and contributes more to vitamin B benefits in this ferment.
Some say that warming the nut milk slightly (to about 90–100°F / 32–38°C) helps fermentation go faster and more reliably, although room temp water has always worked flawlessly for me.
You don’t need to heat it much — just warm enough to take the chill off.

Real Kefir vs Store-Bought (Plus Non-Dairy Options) Most store-bought kefir

When we clean up our diet and lifestyle to address
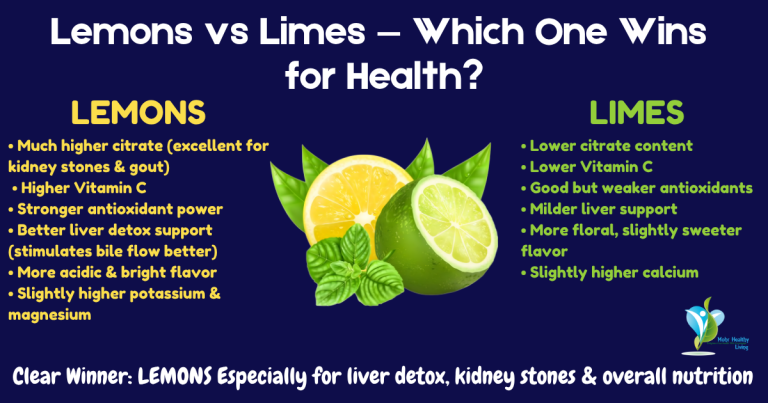
I recently posted Dr. Berg’s Lemon Water + Salt in